Making a Food Product

Cooking sucks. At its worst it is following a whole lot of steps with some mistakes resulting in a catastrophic failure (a friend told me a story of unintentionally making an exploding brownie) and at its best it is trying to achieve some creative vision by coming up with a whole lot of steps to follow with some mistakes resulting in a catastrophic failure. Those familiar with the craft may state that the probability of catastrophic failure goes down with practice or familiarity, but following a bunch of steps to achieve a known result sounds more like the domain of expertise of a robot than that of a human.

I know there are many that find therapy or joy in the process of precise mastery in culinary arts, but for me almost all the fun is in the creativity. Yes, that involves failure. Yes, that means there is greater risk. My biggest problems with cooking are not those of failure and risk, but of achieving something worthwhile only to have my stomach drop at the thought of manually reproduce that result. Maybe its my programming background speaking, but if I’m going to spend a portion of my life creating something great I sure as hell don’t want to spend the rest of it repeating that process. And no, I’d also rather not have someone else spend their time doing it in my place.

Cue Food Products

Now I don’t think making a food product solves any of the aforementioned problems completely at this time, but I do believe this is the right direction. My dream is to one day have robots produce recipes via 3D printers. This would allow free reign for the creator to specify their designs and let the computer handle the rest. That being said, those dreams are still a ways away and, if I’ve learned anything about achieving anything, its that moving in the right direction is better than spending significant amounts of time trying to figure out if its the best answer.

The idea of a food product does introduce a couple complexities that boil down to two short question: What? and How?

Think Simple and Effective

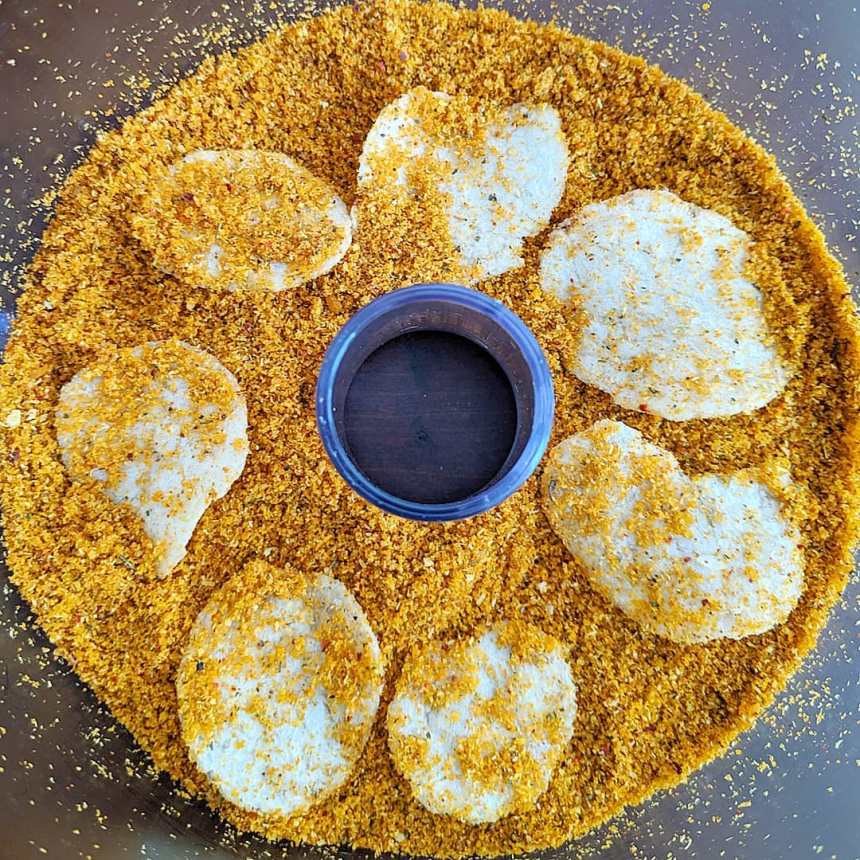
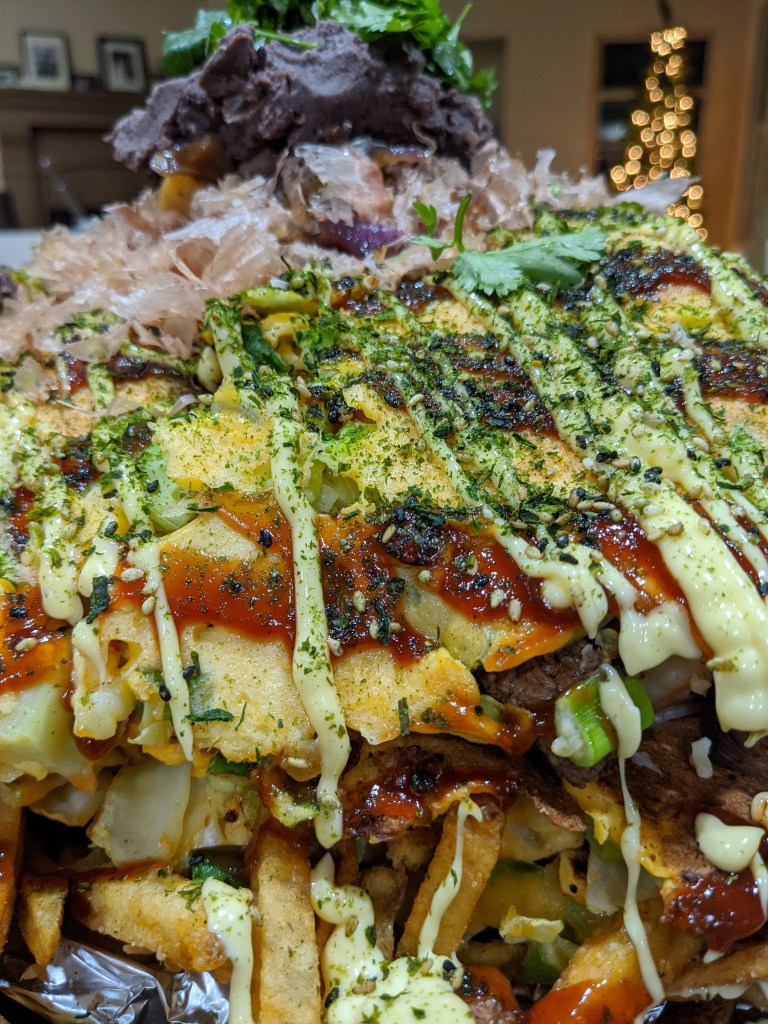
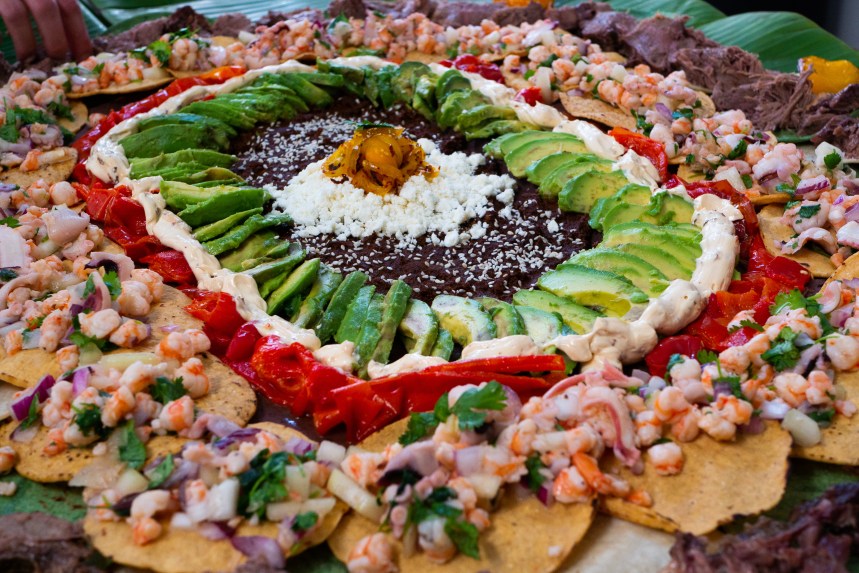
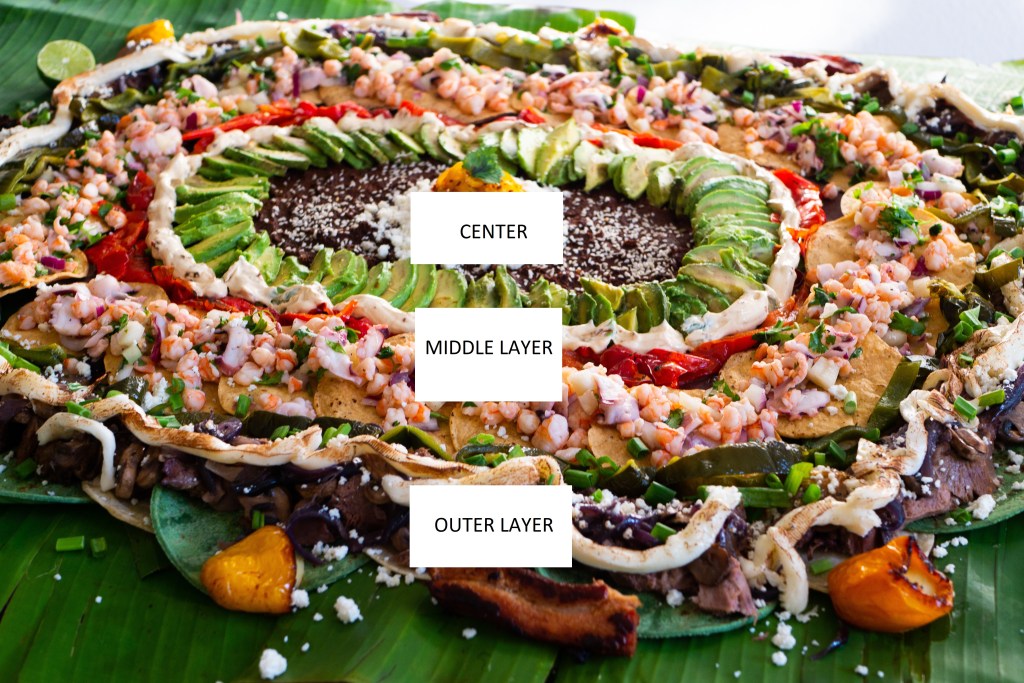
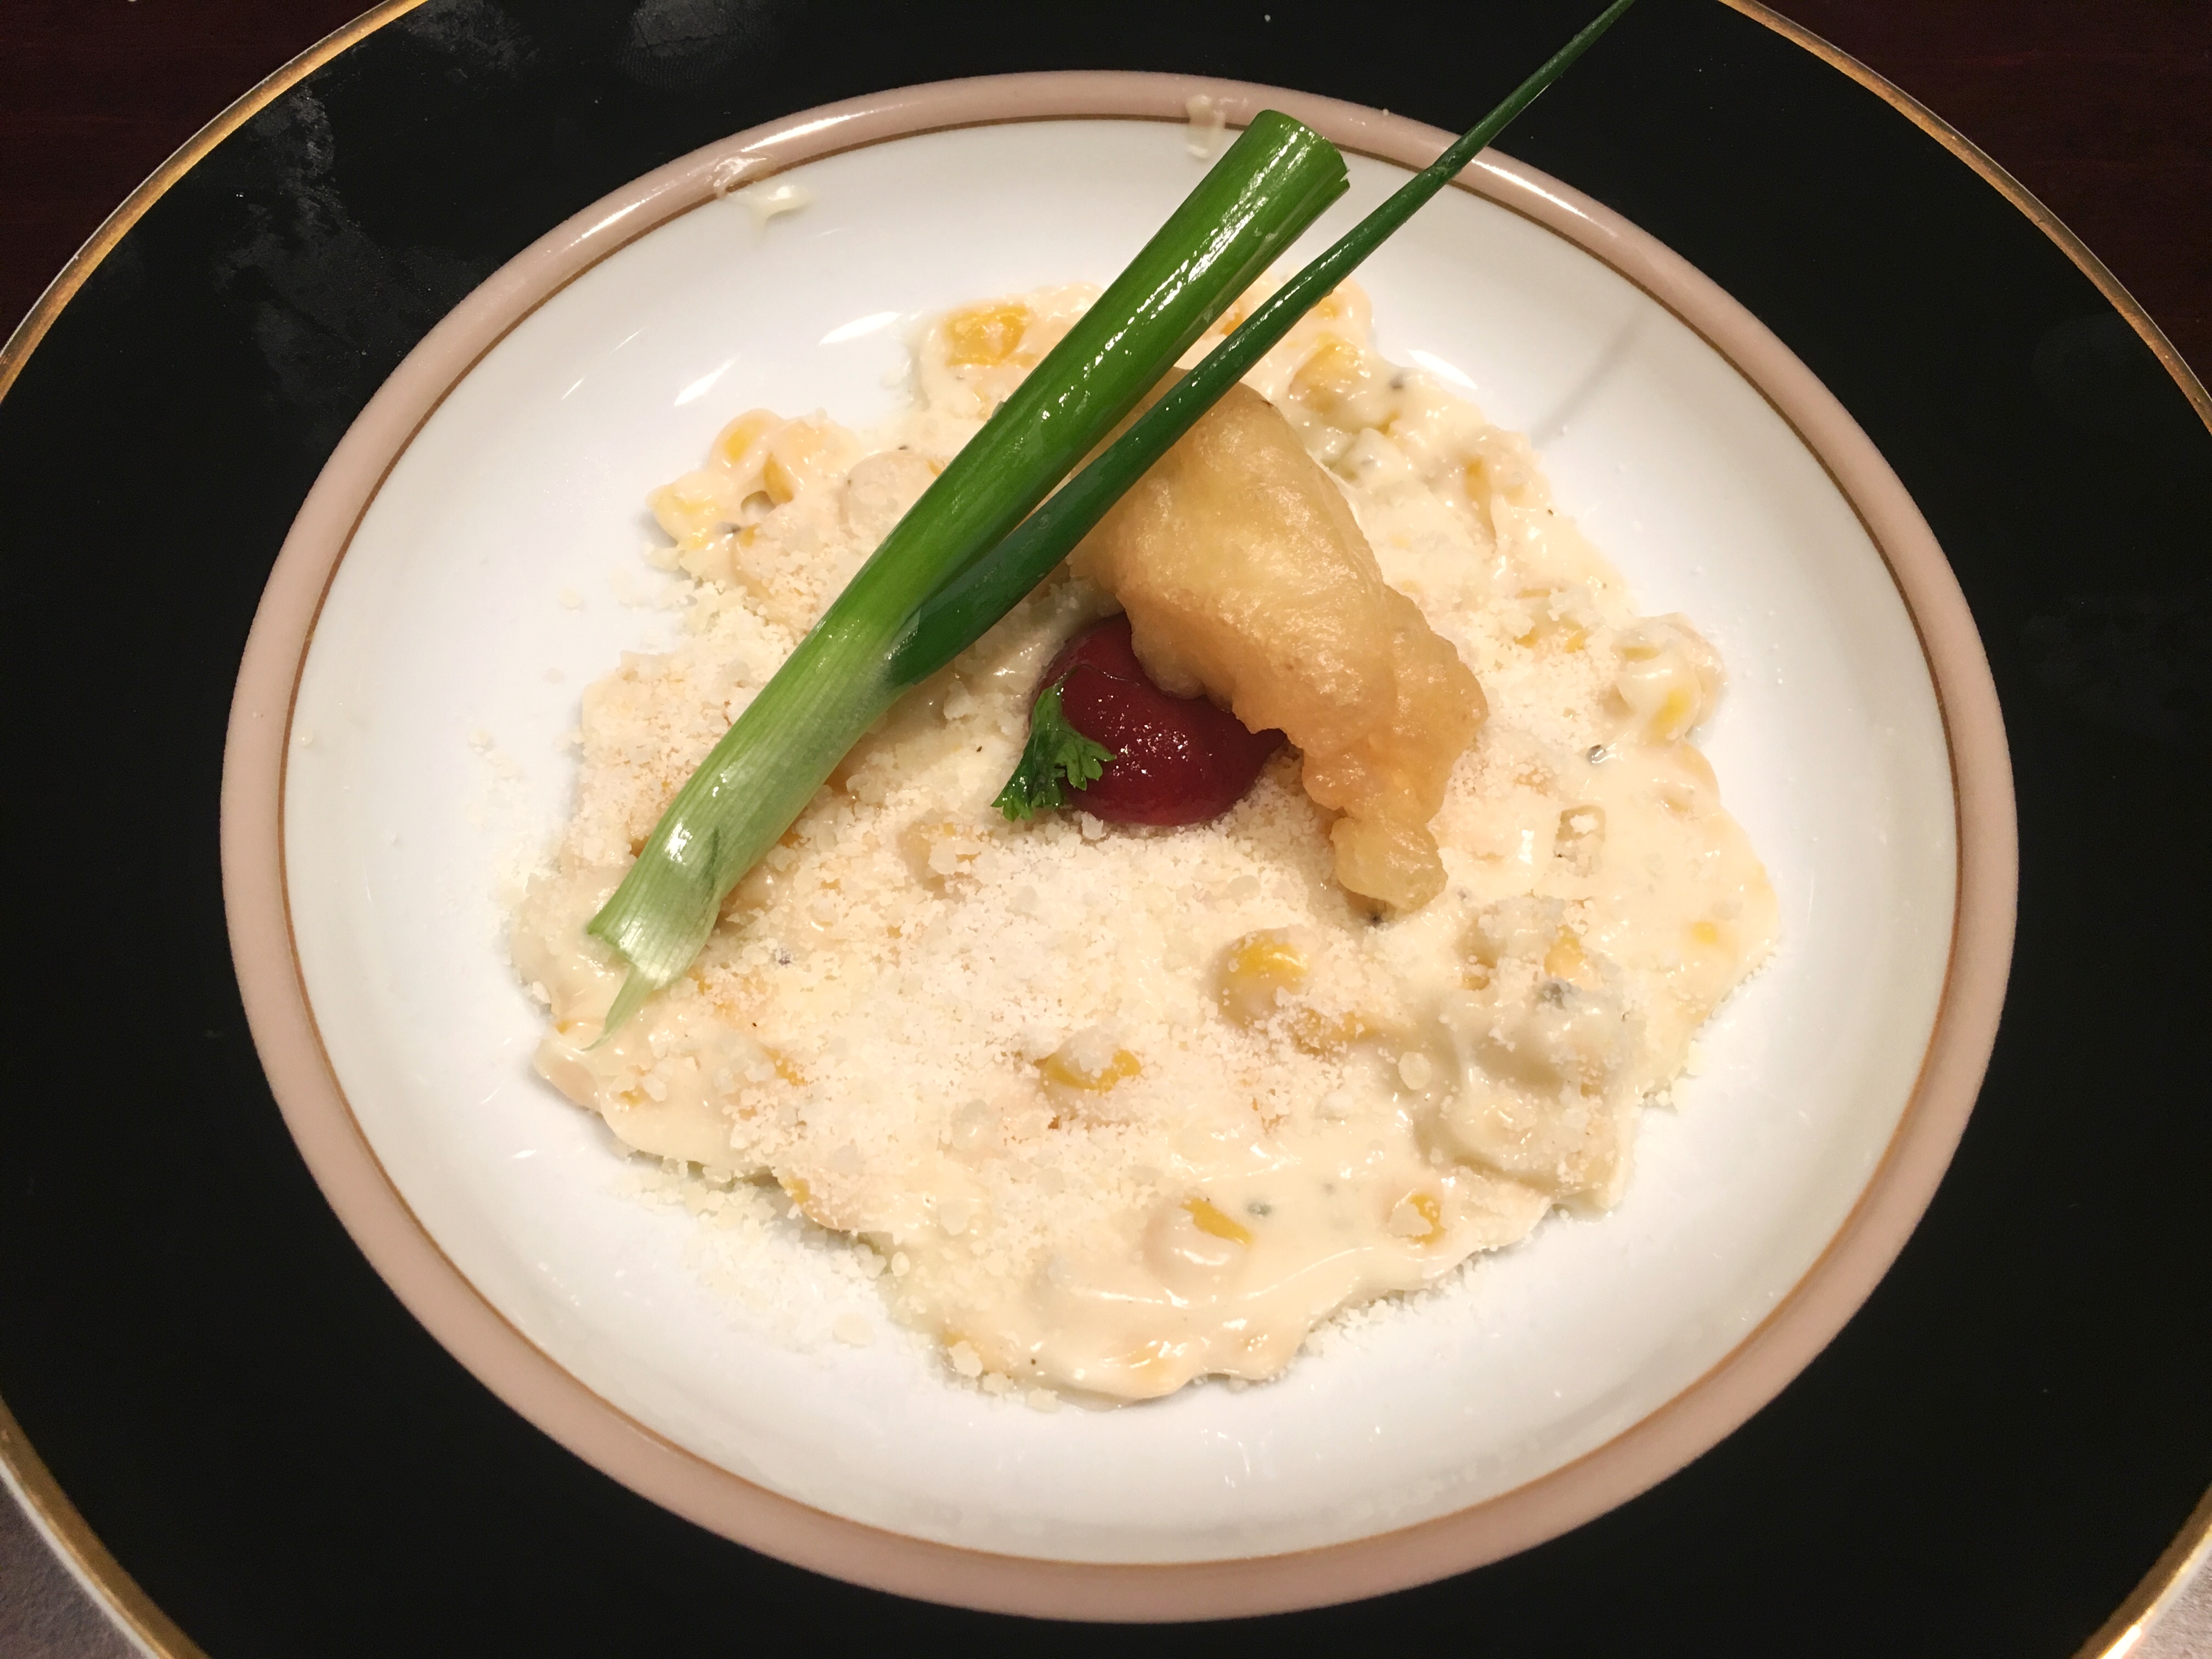
Luckily, I already answered the first question as I found out about an ongoing craze with no signs of slowing down over the years. Salted egg chips. They are relatively simple, have a market fit (almost everyone loves chips and Asian snack foods), and there is a gap in the supply and demand. All that’s left was the painstaking process of how to cook it. Just kidding, that’s the easy part.

The rabbit hole of “How”

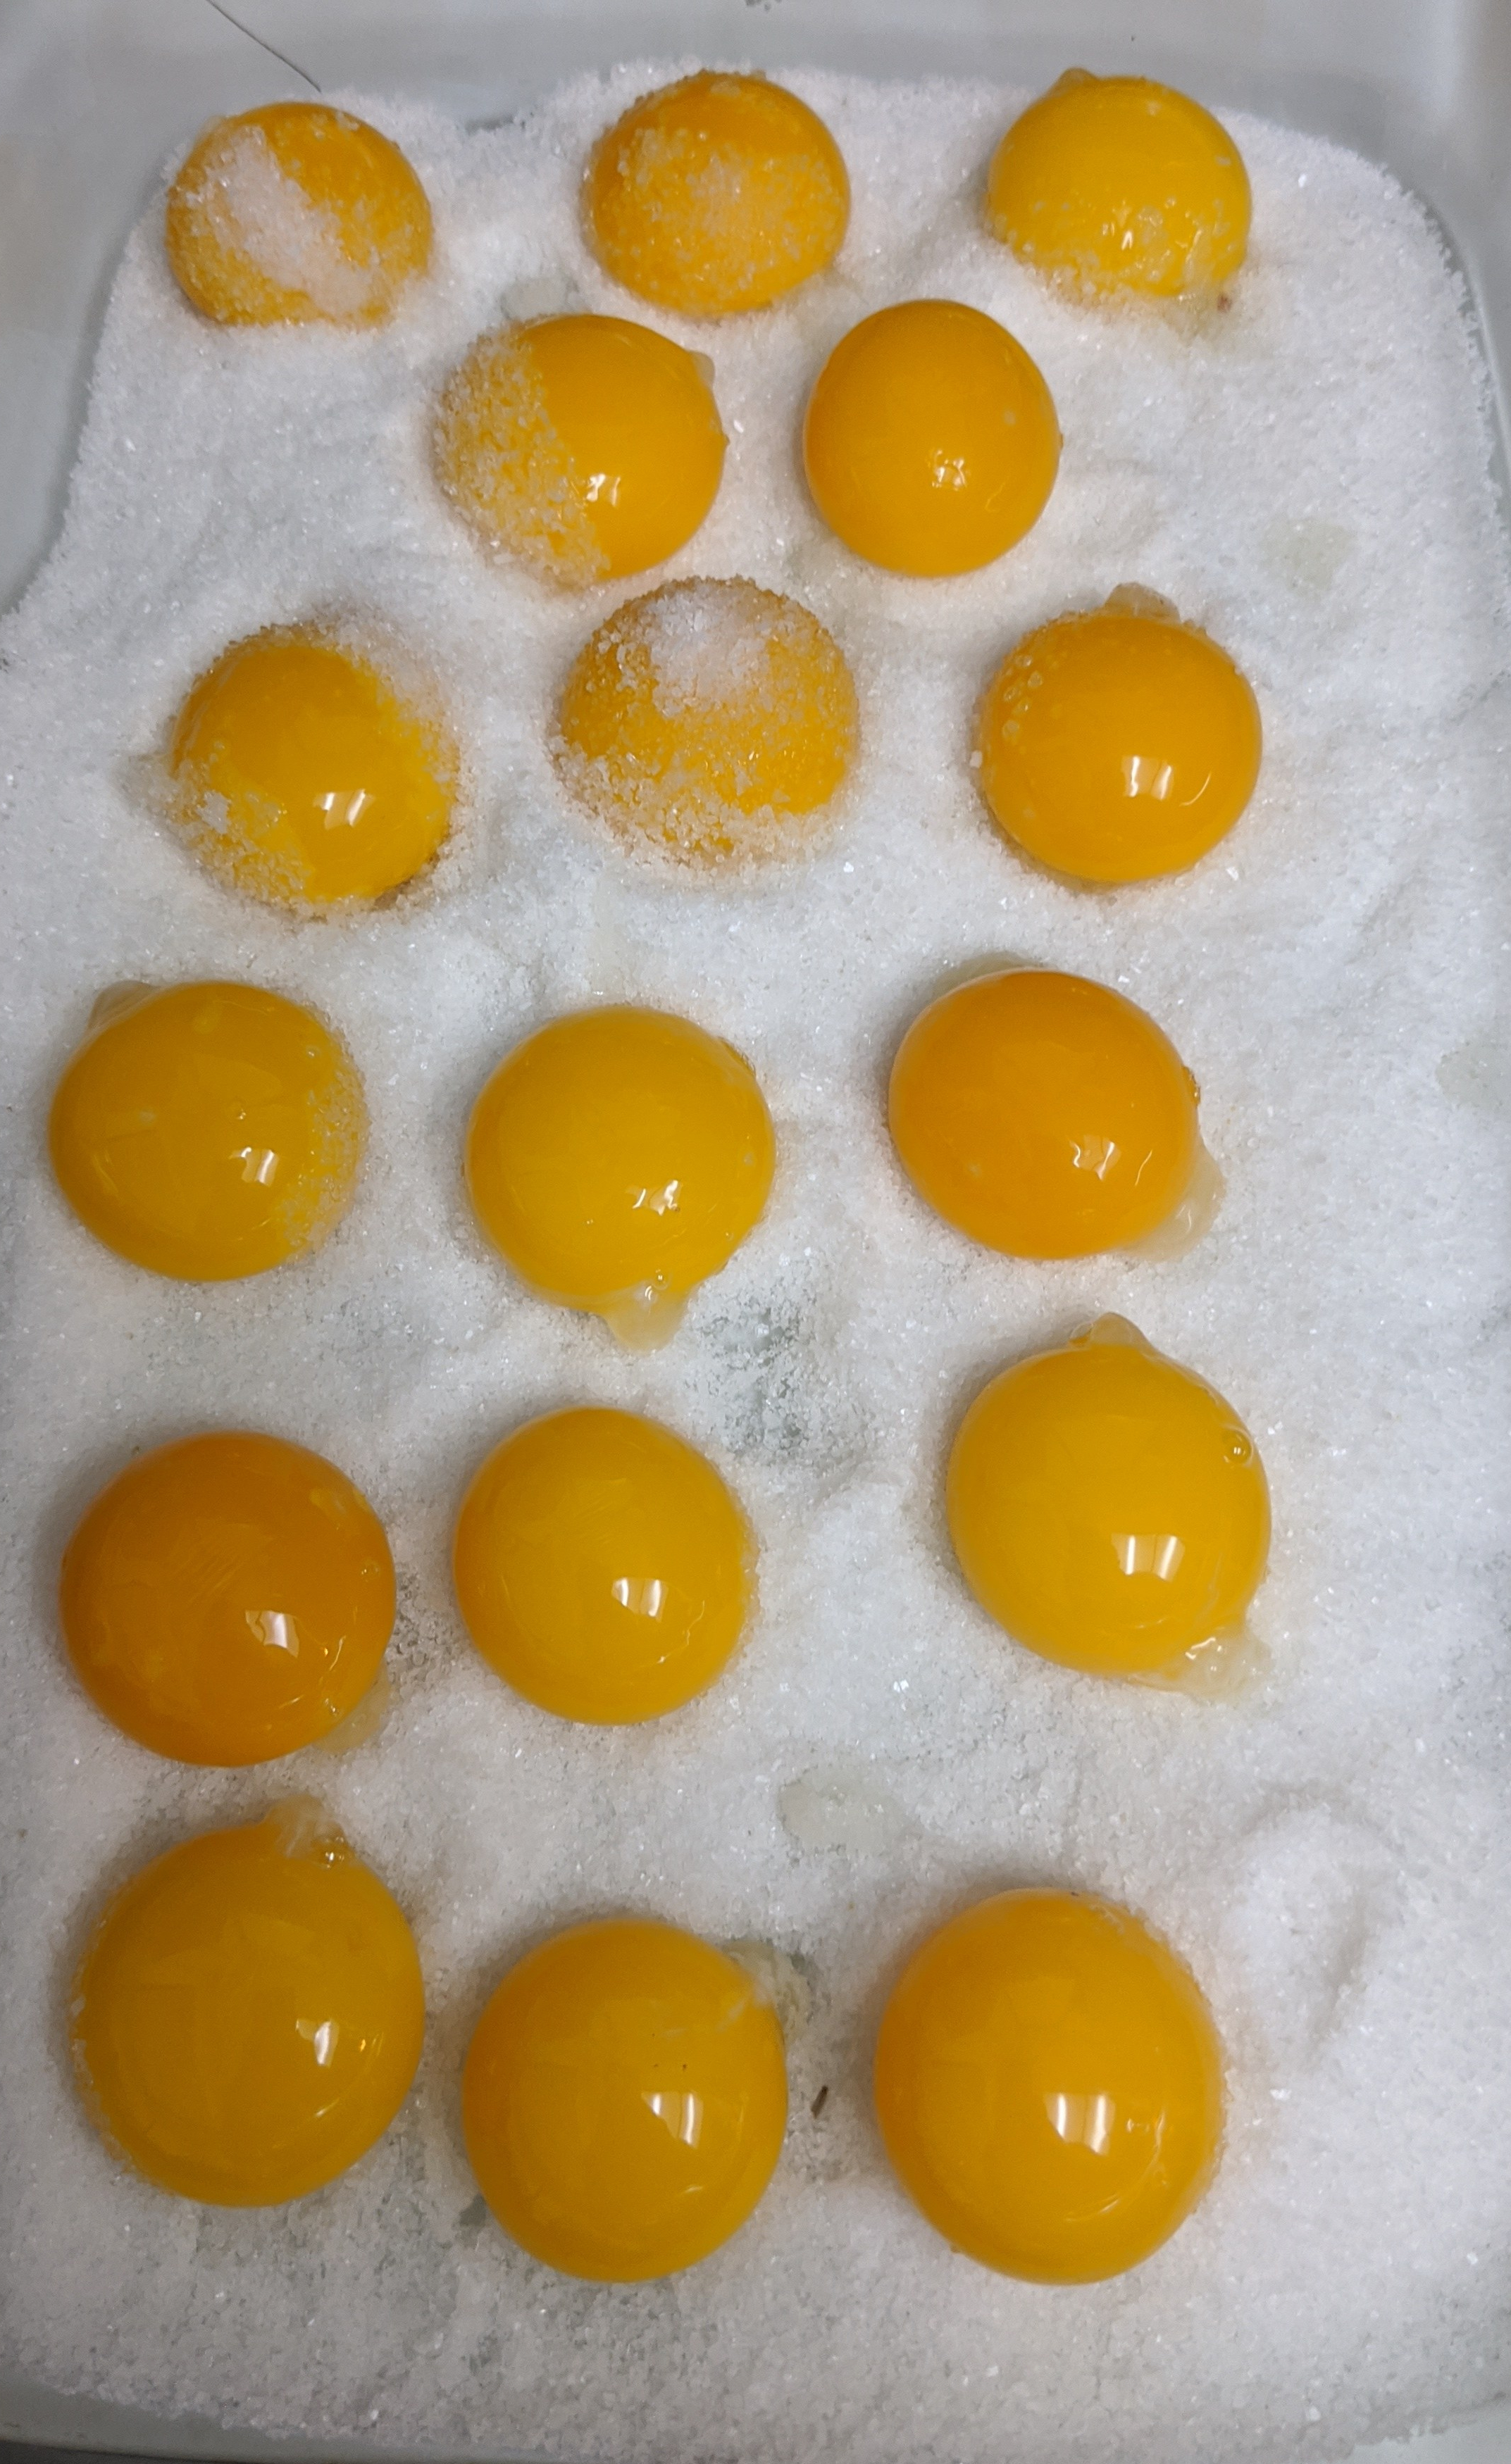
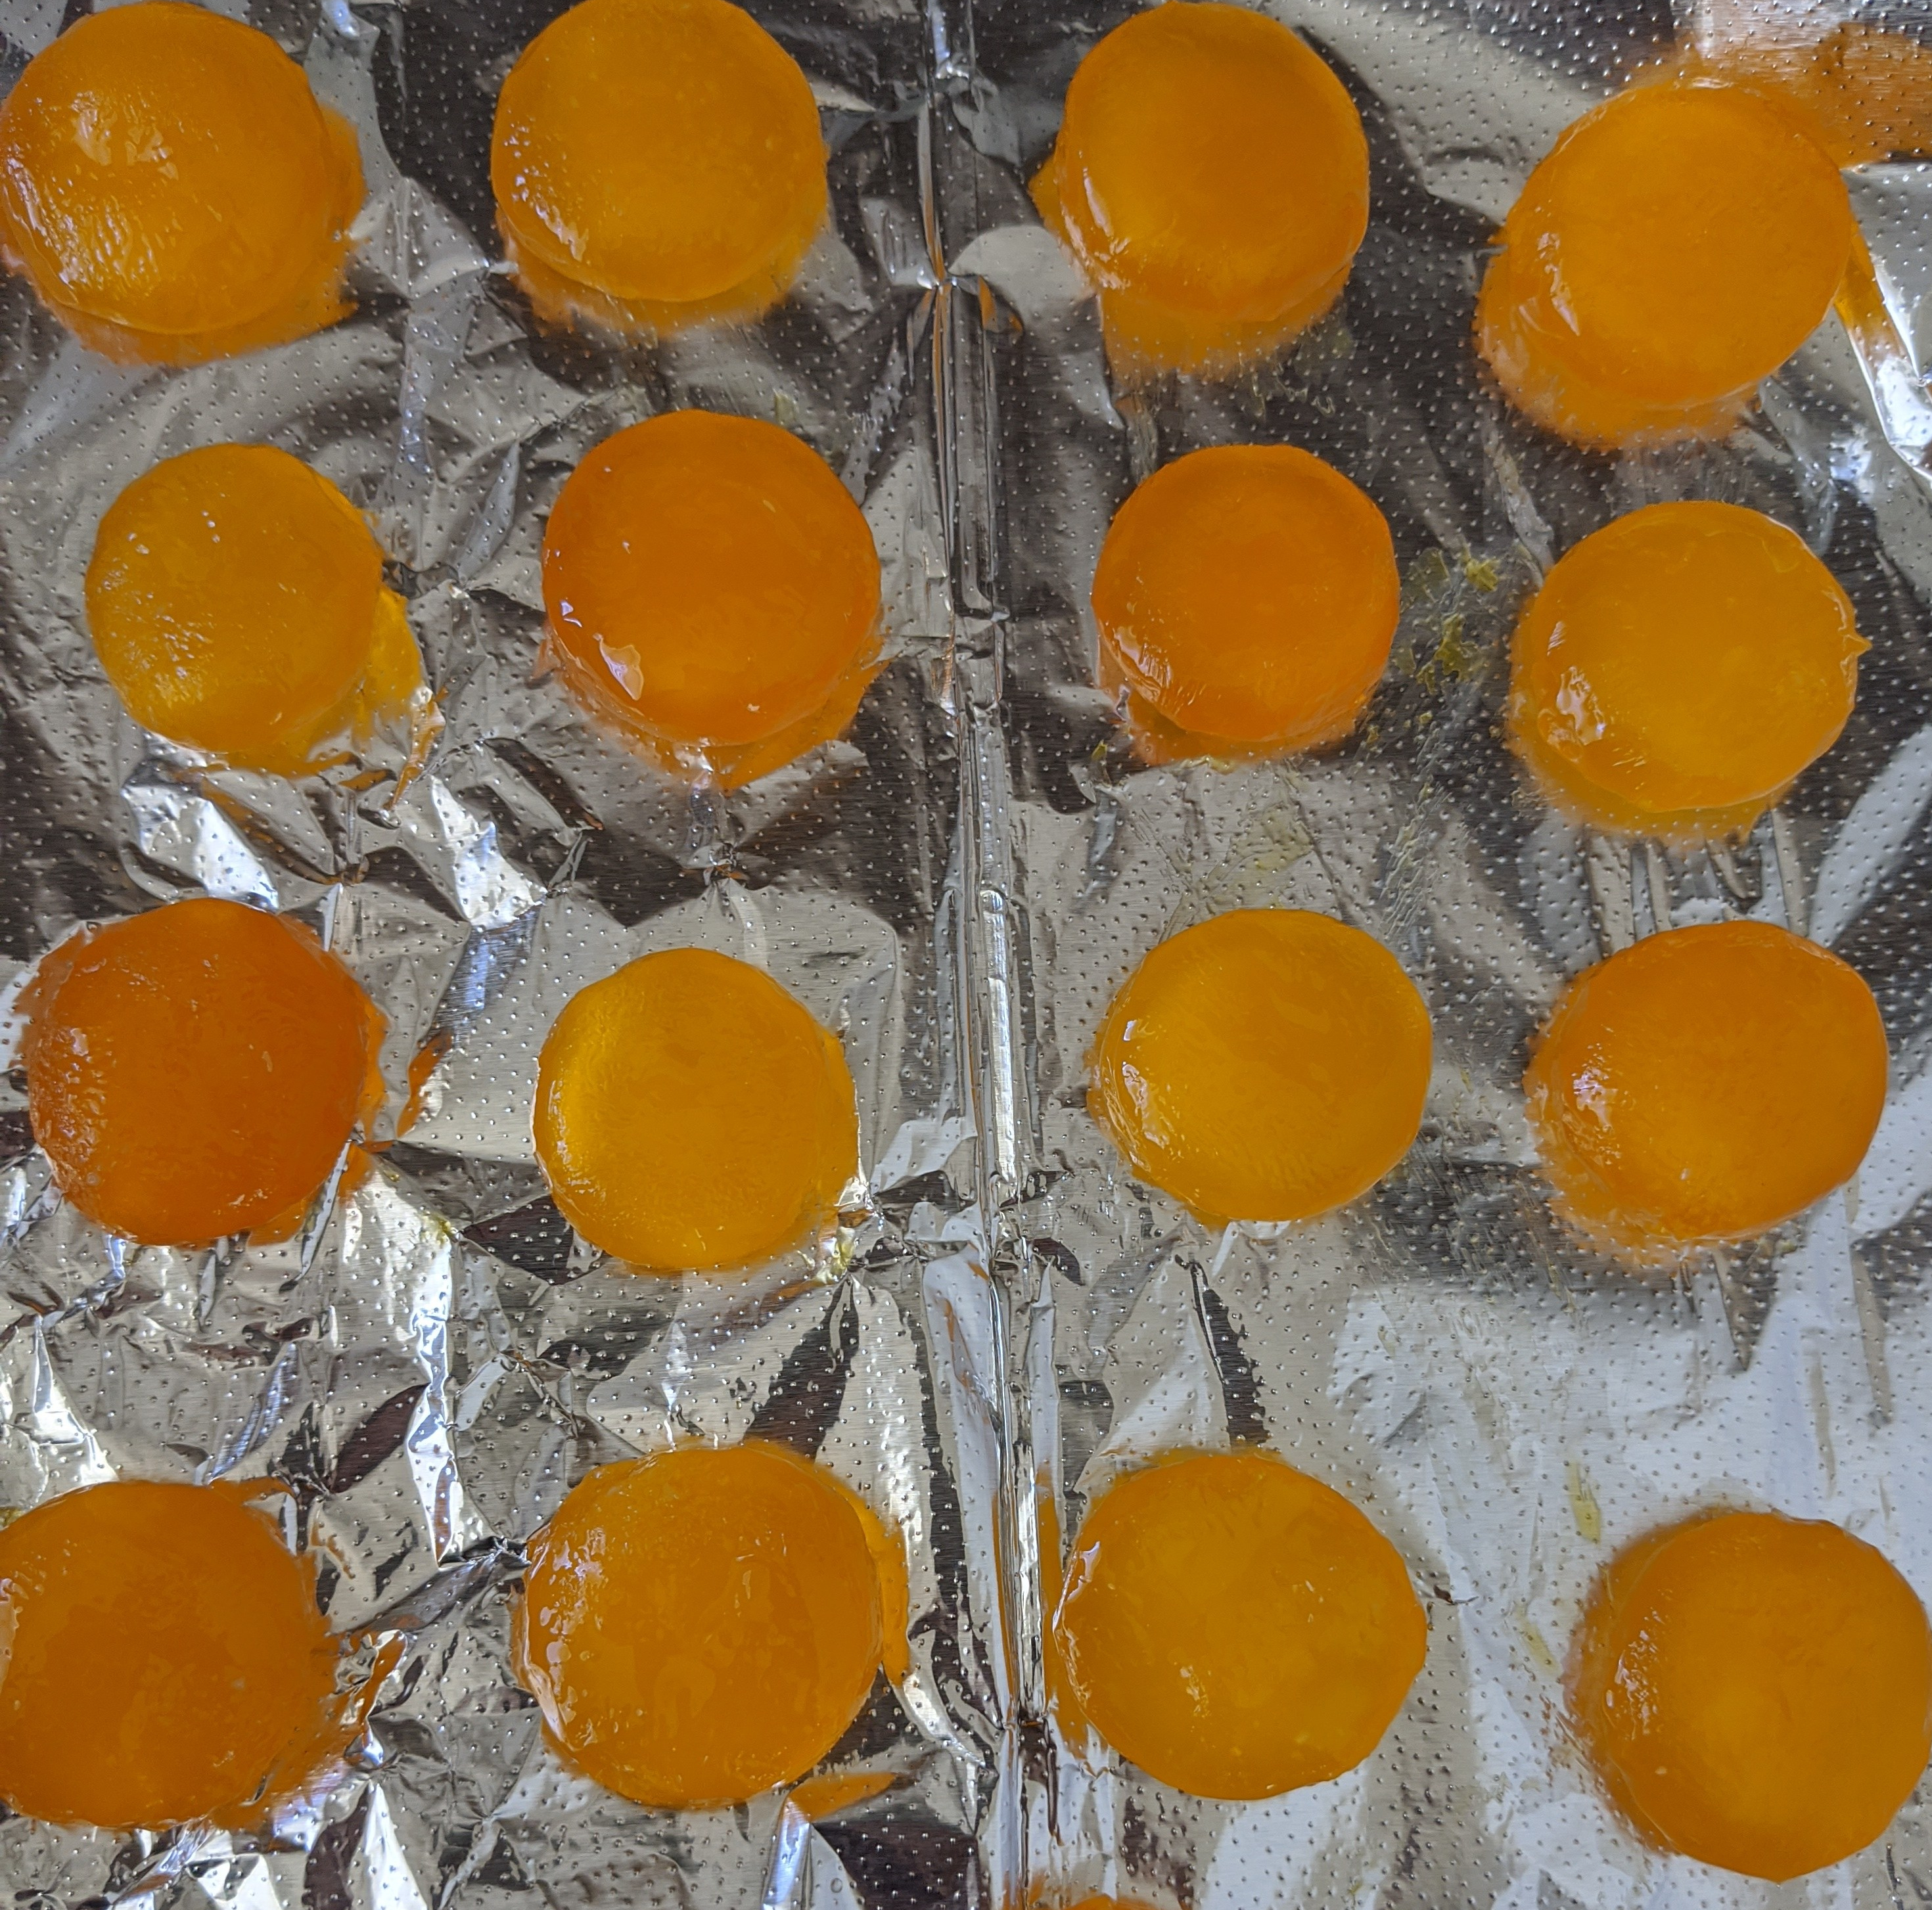
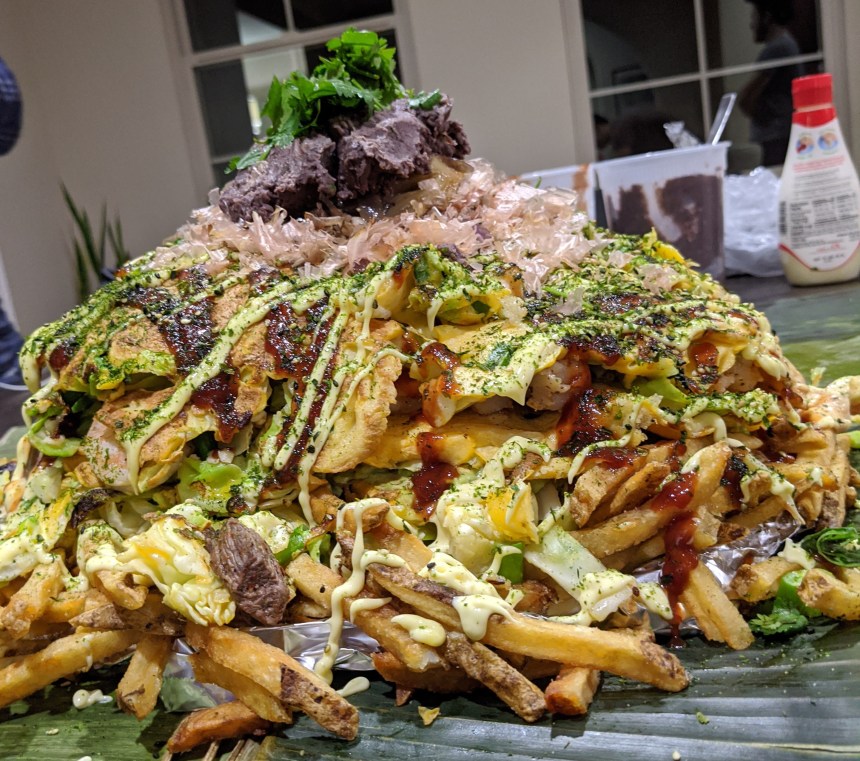
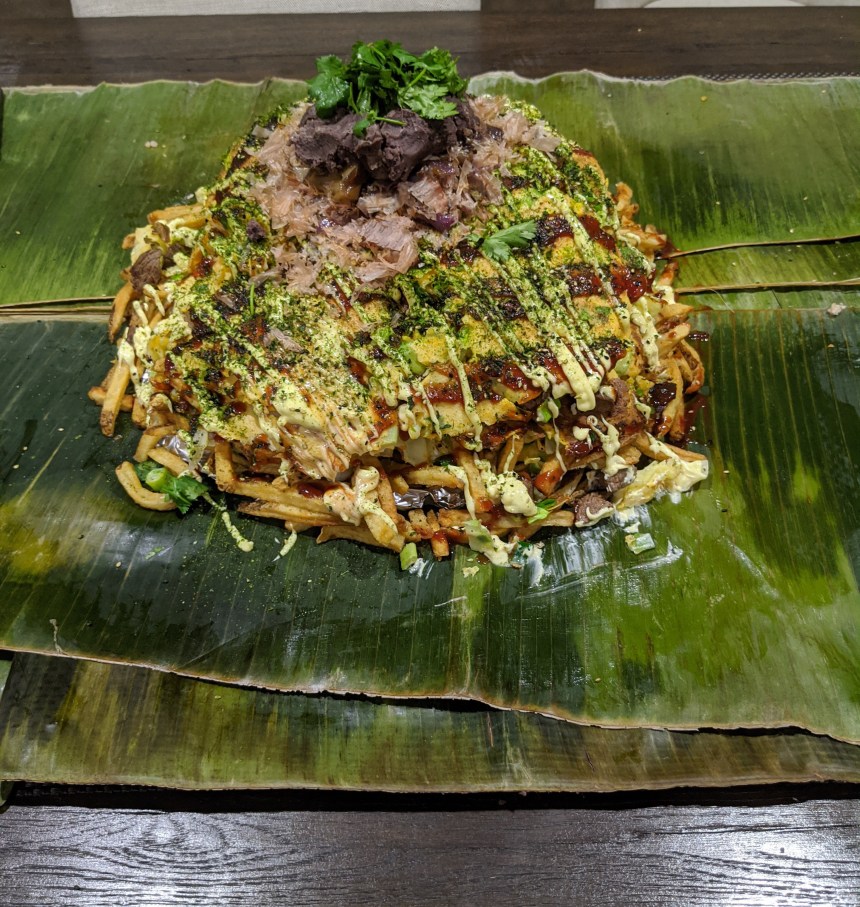
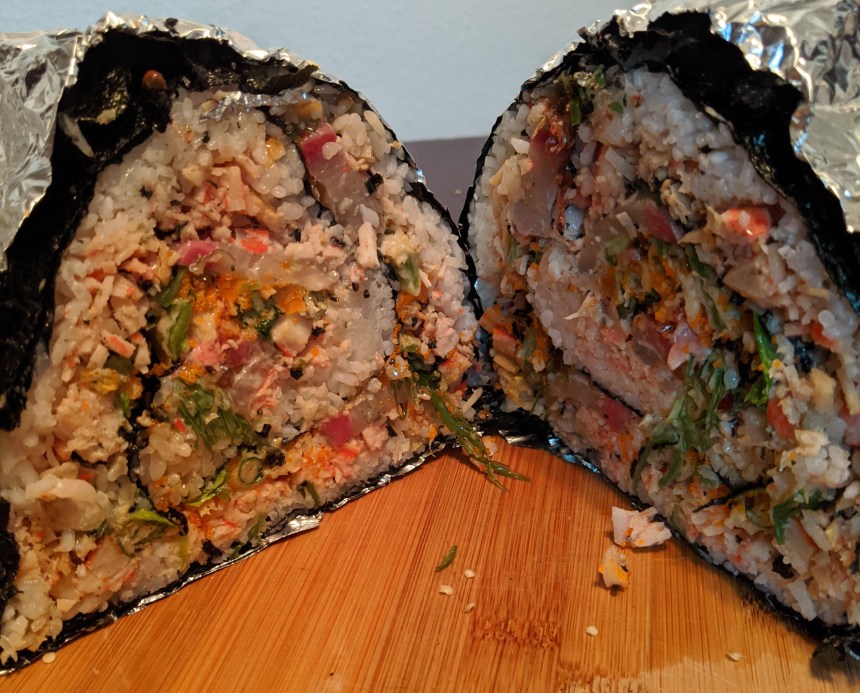
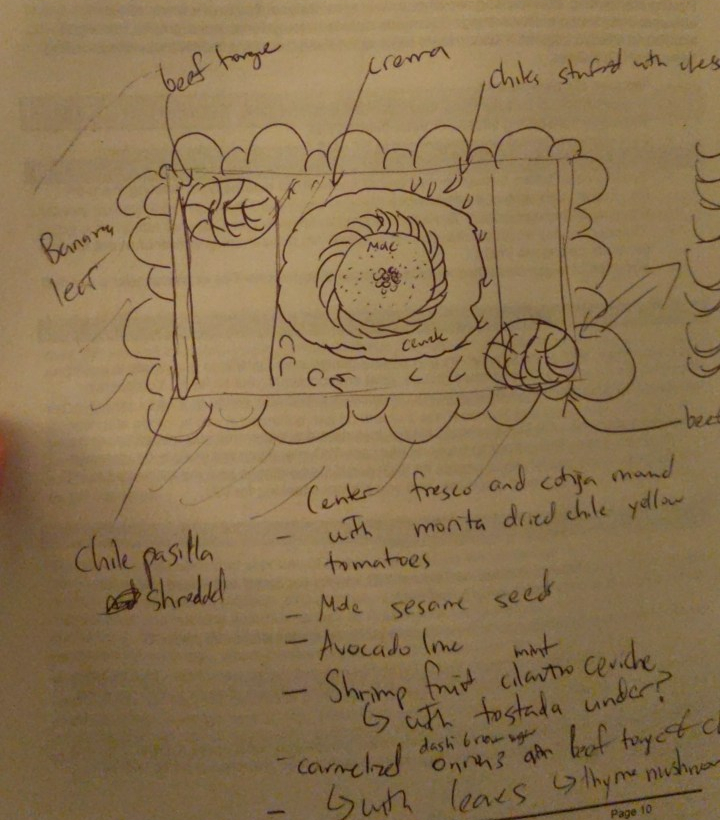
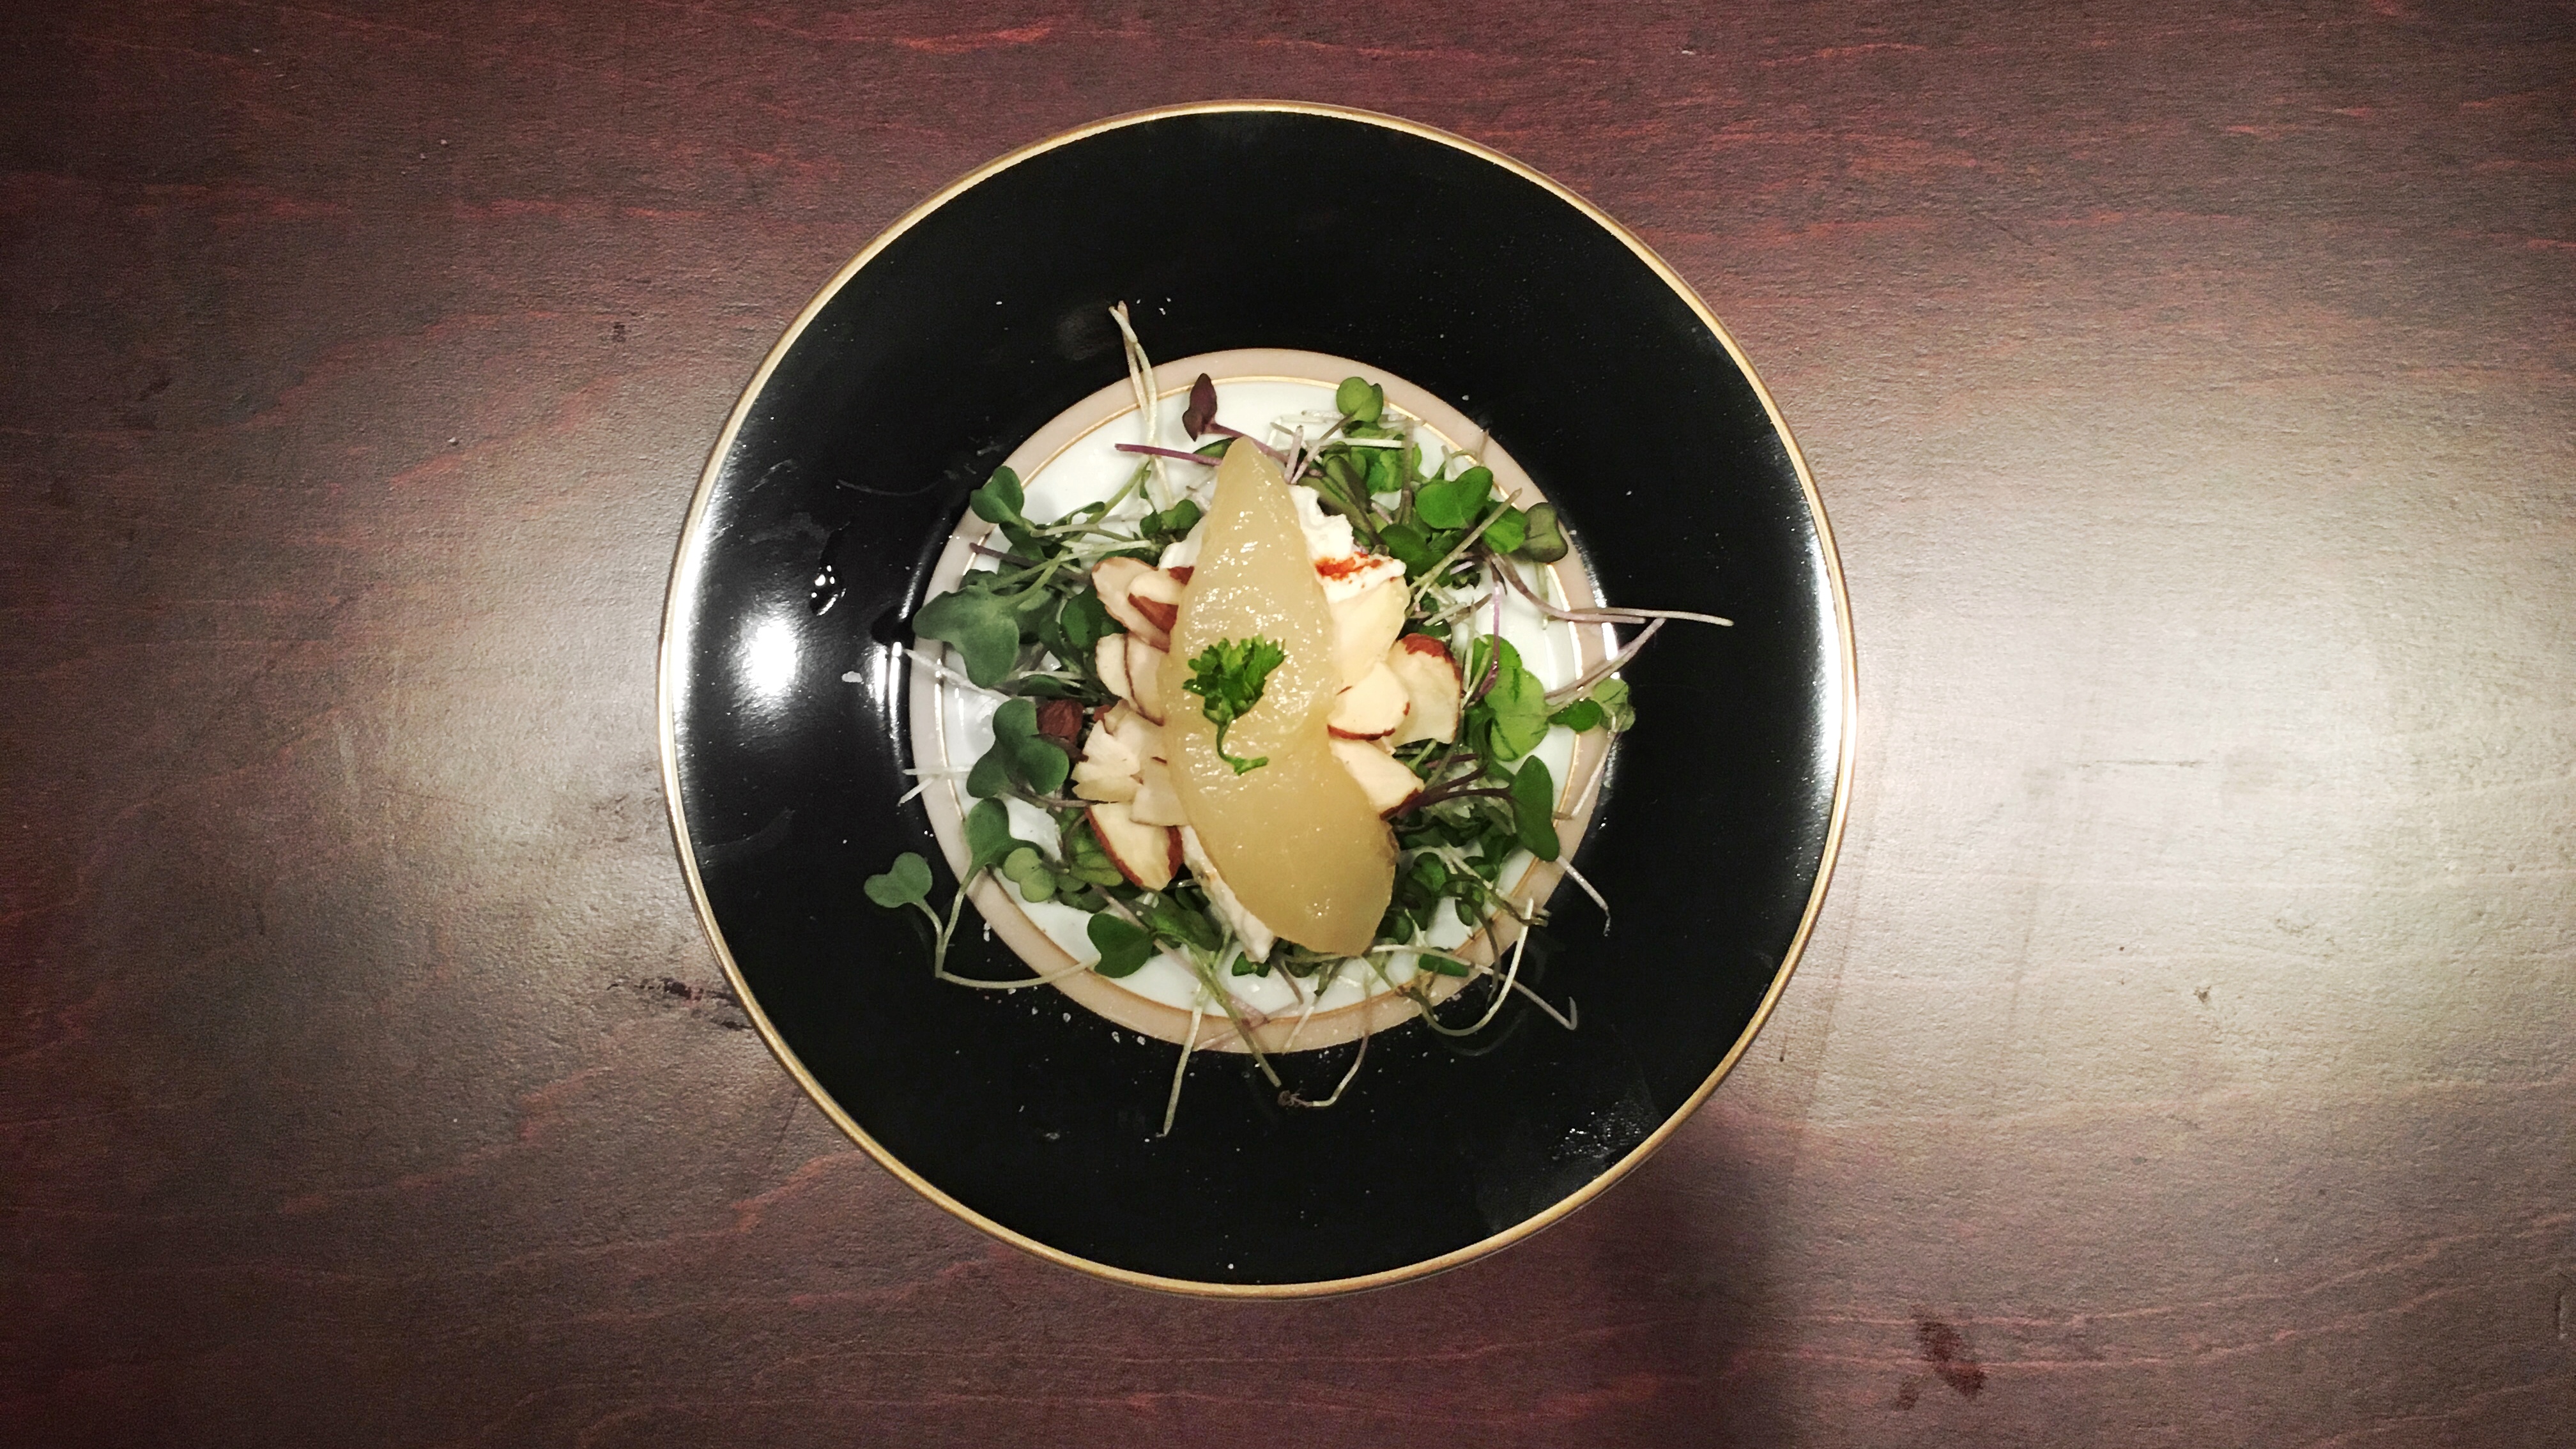
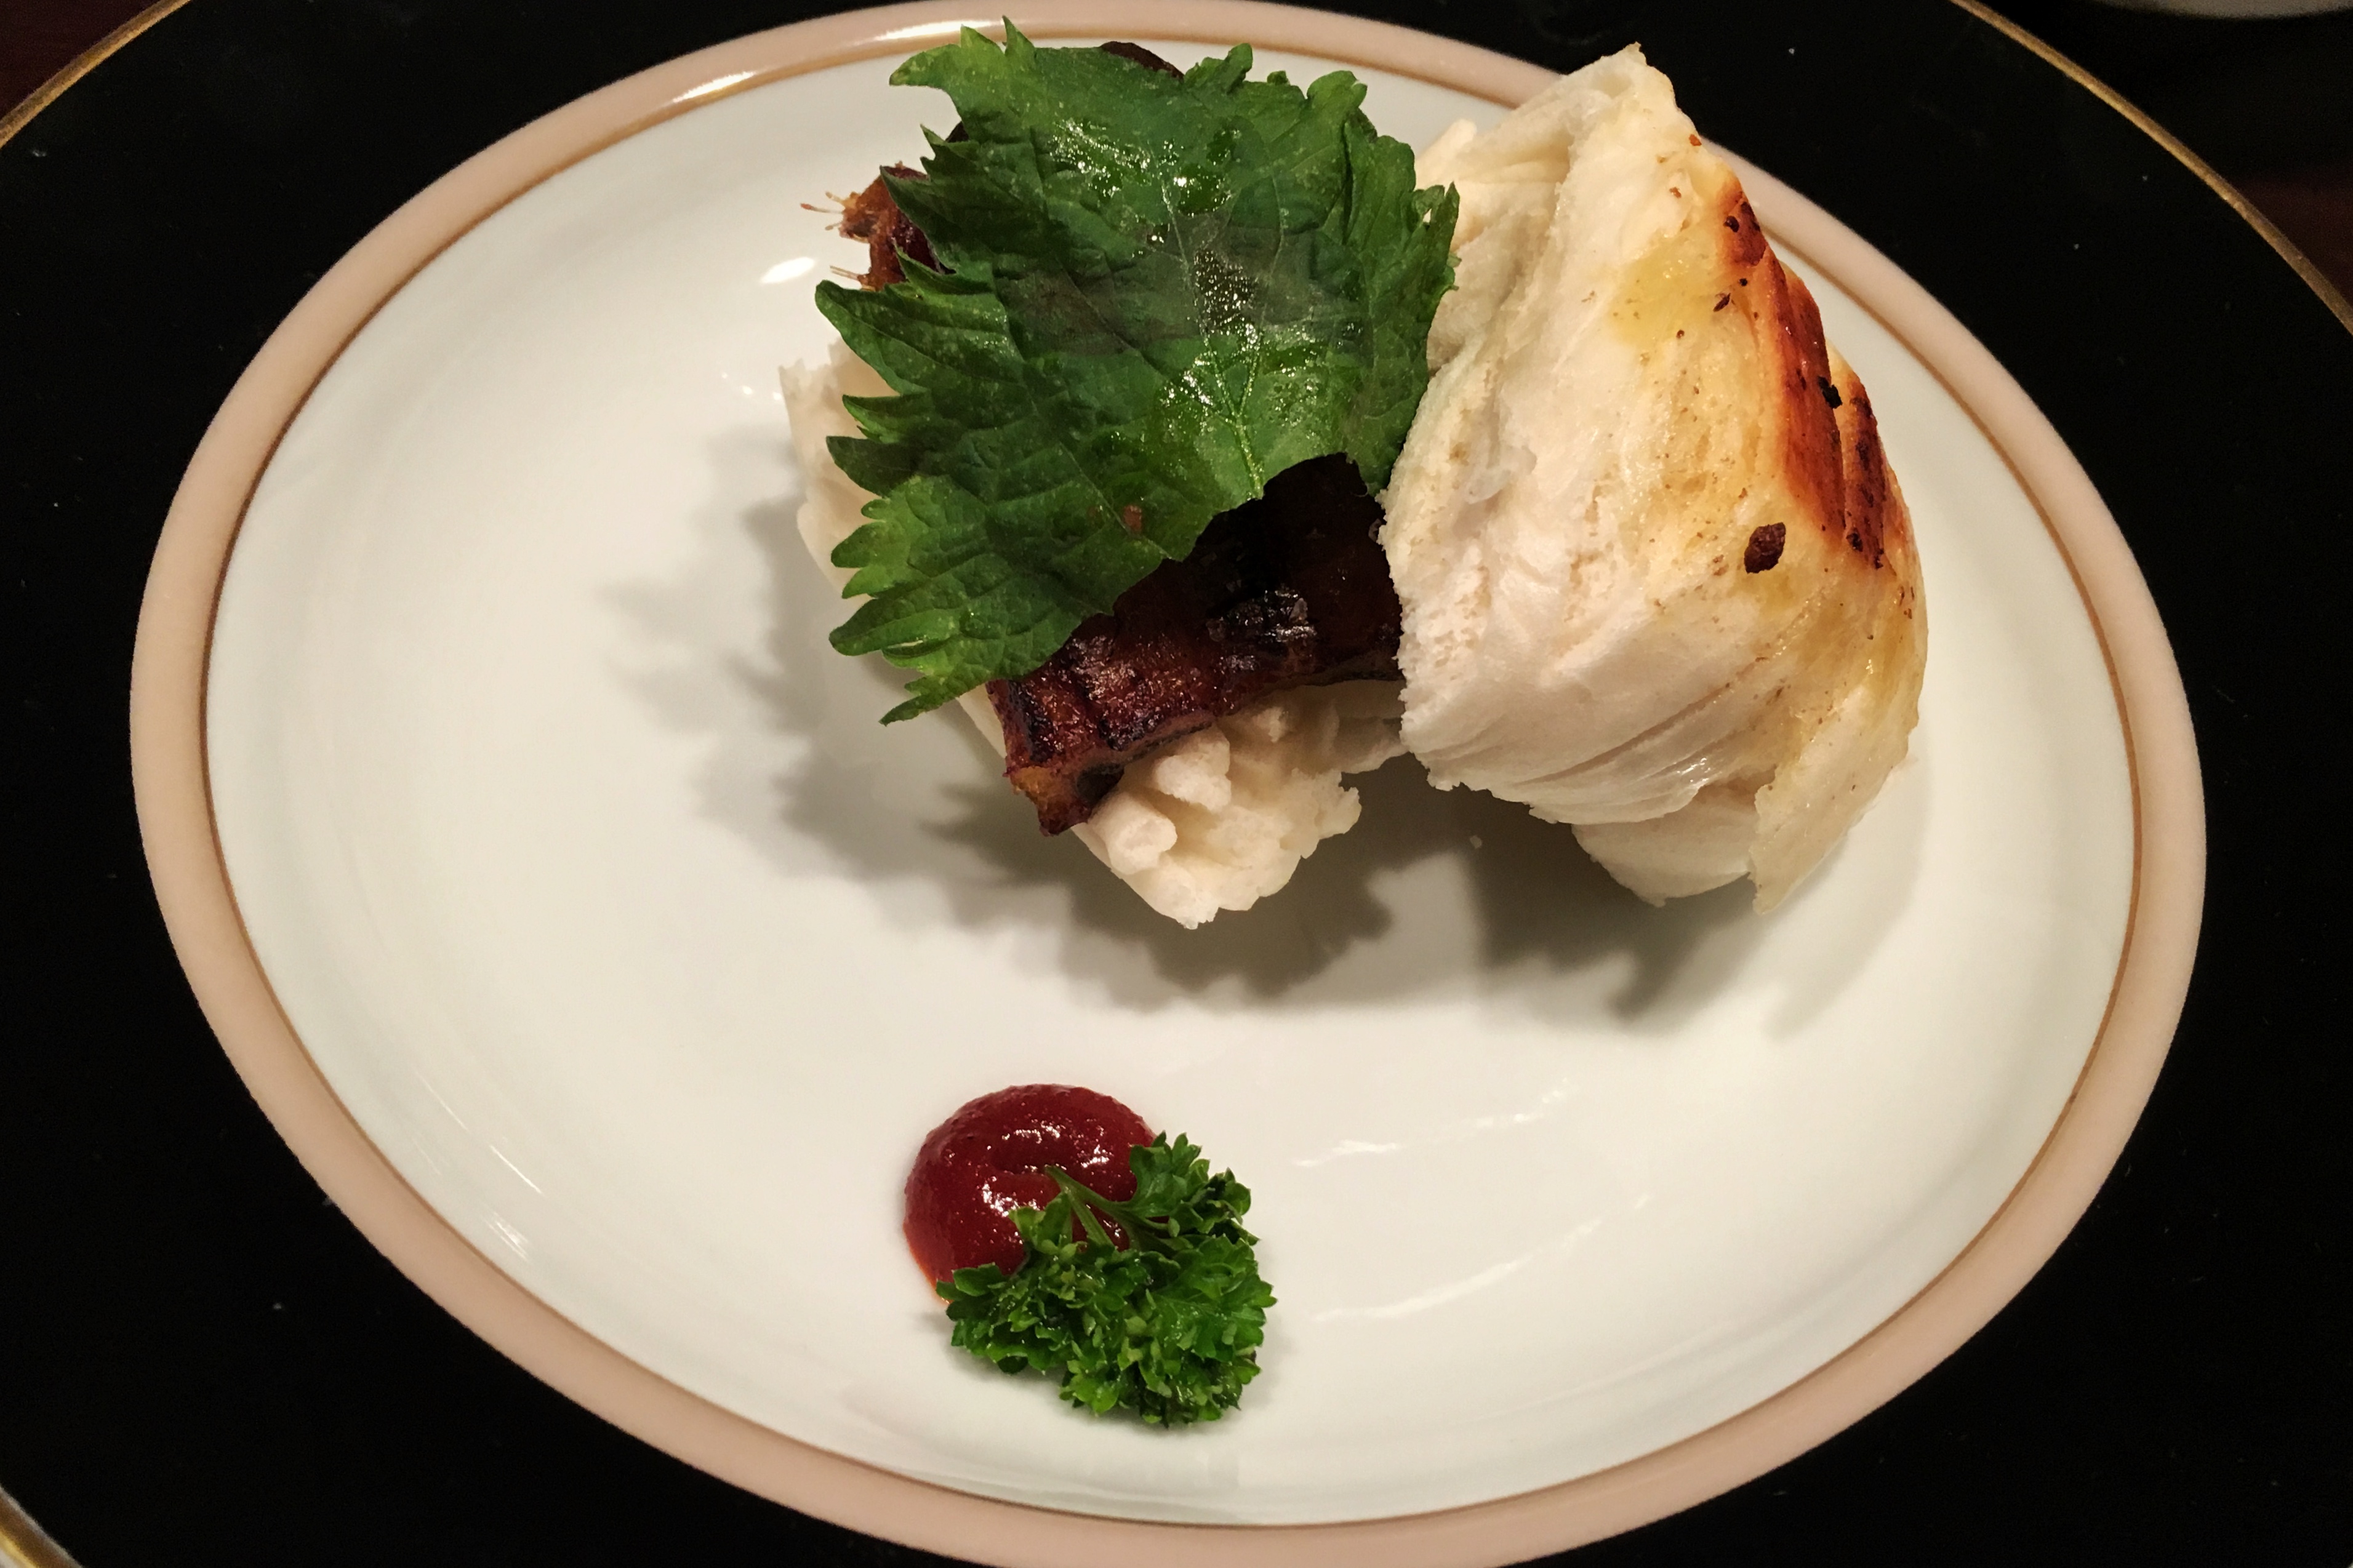
The first step is coming up with the recipe. This goes like creating any dish. Think of what you want to make and grab whatever ingredients you need to enable that vision. Rinse and repeat until you receive the desired outcome.

Now that the chips have been actualized, the real “fun” can begin. Have a successful prototype of the chips? Great, now break down every step to make it noting every ingredient, cost, measurement etc. Made it once? Excellent, now scale it. Have a bunch of chips? Time to figure out some packaging. Wow, that’s neatly packaged, but how much does it cost? How about last? Does it really last that long? What’s in it again? Will someone buy it? Can you actually sell it? No, I mean can you ACTUALLY sell it?

The first two packaged units: Curry Salted Egg on the left and Original (coconut yuzu) Salted Egg on the right

Now that I’ve brought up the many questions I’ve had to dwell on in many spirals of anxiety, the good news is there are answers to these questions. The bad news is that they don’t really make anything easier.

Some Logistics

I live in the U.S. and, like many countries, this means that food is regulated. More specifically, I live in California, which means that the regulations have regulations. So as you can imagine there are tons of processes in place and logistics to follow. All these requirements funnel into two officially approved approaches:

  1. Make the food product myself in an approved facility
  2. Formulate a recipe to have the production be done by someone else

By going through one of these two strategies, I’d have salted egg chips that I could officially sell to the general public. That of course was what I thought before my local farmers market aptly requested if “I had the necessary paperwork done.”

Bureaucracy at its finest

The paperwork associated with the selling and distribution of food boils down to a surprisingly focused set of requirements. Clearing the requirements to prepare food to sell means either having or renting a pre-approved space. Gaining approval sounds like a lengthy, tedious, and expensive process so I decided to find a commercial kitchen that I could sign up with.

Now, if I’ve learned anything about working with a commercial kitchen its that ghosting isn’t just some online dating trend. Seriously, I have had every kitchen I’ve tried to work with completely ghost me. And I don’t mean that they just never responded from the get go. It’s as if they brought my hopes up until the very moment things could begin taking shape before completely ignoring any means of communication with me. That being said, I was able to talk to one kitchen long enough to become aware that I’d need to visit the local health department before working with any kitchen. I could only hope that I’d have better luck there.

The local health department was actually a breath of fresh air as they have been the only food entity I could actually somewhat consistently get a hold of. They educated me on all the forms and processing fees that I’d need alongside the insurance/security deposit fees and hourly usage rate with the kitchen. Unfortunately it didn’t end there. Remember that one detail about making a salted egg chip food product a.k.a. a packaged food product? Apparently, it’s a bit different for that.

Accurate representation of what all the paperwork and documents feel like.

As many might guess, a packaged food product comes with a few more requirements compared to your locally prepared food stall sandwich. Most of these have to do with packaging standards and labeling accompanied with the caveat that processing this form takes at least 3-6 months. Not enough of a deterrent for you? Well, there’s more. It’s also by far the most expensive part of the process. At $500 paid up front just for the processing, it isn’t obscenely expensive, but you have to remember that, as an experiment or for the average person that can’t afford an unexpected expense over $400, its money sent without knowing when or IF that small investment would pay off. Also there’s still the initial cost of raw ingredients, security deposits, insurance, packaging, any additional tools, hourly rate, time, etc.

What are the other options again?

Get someone else to do it. I never really considered this as an option as I found myself finally in contact with a food business consultant agency to know more about the options out there (I should add this was 2 months after my initial inquiry to them). They told me most of the details I already figured out around the two approaches I outlined, but I actually got to find out exactly how expensive it would be to go with the second option (tens of thousands of dollars depending on how much of the process you wanted someone else to be involved in). Also, they confirmed my suspicion that I had already contacted all the major commercial kitchens available in my area. You can only imagine all the motivation this conversation gave me.

The agency eventually pointed me in the direction of a food scientist I could talk to about what it would look like to take the outsource approach. At least I assume that’s what he would have done if he didn’t ghost me when we were supposed to schedule a meeting. I had to cut him some slack though as it was the middle of a pandemic.

Honestly, I would never use any of their services anyway unless I was ready to go all in blindly staking everything onto the project. Networking is an invaluable asset at its best and a scam when done for the money. Unfortunately, it looks like I’ll probably never find out which side they were on.

This was solely an experiment I was planning to incrementally scale, but it was nice imaging having someone somewhat vested in my success.

Newfound Respect

I’ve been really humbled by the experience of trying to bring a food product to market. On one hand I’ve felt great pride in the packaged units I have produced, and on the other I feel like I never really got anywhere close to making an actual food product. It’s a great reminder of what many small businesses have to go through to just get up and running. I’d love to join them with this food product that I know can compete out there, but at this point I can’t say I have.

I originally wanted to release my experience as a success story of me overcoming the odds and having my own product out there, except I’m not quite sure where I want to go from here. I feel lucky to have had many people show interest throughout my various levels of prototypes, but mentally it’s hard being alone out there navigating through all these requirements and getting no responses with people you’re supposed to work with. And most of that was before the pandemic ravaged the food industry.

Once everything settles down I may find the perseverance I need to complete this project, but for now it looks like its just lessons learned to a better future. A future currently with a couple less salted egg chips.

Giant California-Style Okonomiyaki

The idea was one of those moments where you swear it had to be done many times before, but at the time of its conception I couldn’t find any examples of 1) a truly giant/layered okonomiyaki or 2) an okonomiyaki incorporating fries or really any kind of “fusion” for that matter. So I did the only rational thing and made that idea come to life.

A first for Okonomiyaki?

I find it hard to believe that I would be first to undertake this endeavor, but the world of okonomiyaki is an under-fulfilled and underrepresented one if the internet isn’t filled with such examples. Living in Southern California, you can find a fair share of them if you look hard enough, but the majority are more akin to vegetable pancakes than okonomiyaki. I guess if all produce was amazing that might sound like a good idea, but if you’ve been to Southern California you know that’s not possible outside of the trendy LA /vegan dining scene. Both areas not typically fit for the more casual, non-vegan concept of okonomiyaki.

Example of some okonomiyaki I had in Japan

Even on my many trips to Japan I found okonomiyaki to be uninspiring given the concept and its visual appeal. Okonomiyaki at its core is a essentially a savory vegetable omelet pancake composed of eggs, flour, some form of sugar, dashi, shredded cabbage, and diced green onion. Other than some optional go to toppings of nori, bonito, Japanese mayonnaise, and okonomi sauce, that’s really all there is to it and is honestly enough to make it a standout dish. I don’t really know of anything quite like okonomiyaki and was sad to find out there isn’t much variation to it outside of your protein of choice or a random mix-in such as kimchi. In short, I was disappointed by what I felt was unfulfilled potential.

Cue California Style Okonomiyaki

After all the hype fries get, some may wonder if shoving in fries wherever humanly possible is a worthwhile endeavor at this point (it definitely is), but the formula for okonomiyaki has largely been untouched and the only popular pairing is yakisoba. This meant I had no choice but to follow in the footsteps of the genius that dared to shove fries into a burrito by in turn creating California style Okonomiyaki. Of course, I didn’t want to the intermingling of cultural phenomena to stop there so I included queso fresco, a homemade creamy guacamole, a California red wine infused okonomi sauce, red pepper beef, yuzu garlic shrimp, caramel dashi red onions, and my signature dashi black beans to the mix to create the most California of okonimyakis.

Hard to see, but there are three layers of okonomiyaki in there

Go big or go home

With the ingredients decided, it was now time for composition. Instead of just expanding the okonomiyaki in width, I opted to add height by making the okonomiyaki three layers high with several other layers to add depth to the texture, flavors, and visuals.

Ingredients by Layer:

  1. French fries
  2. Okonomiyaki base with queso fresco
  3. Creamy guacamole: lime, avocado, salt, black pepper, mascarpone, garlic, cayenne pepper, dark amber maple syrup
  4. Okonomiyaki base with queso fresco
  5. Surf’n Turf: yuzu, garlic salt, black pepper, and sumac seasoned shrimp with beef seasoned with red pepper, aleppo pepper, black pepper, salt, honey
  6. Okonomiyaki base with queso fresco
  7. Toppings: Black bean puree – yuzu, dashi, dark amber maple syrup, garlic, Thai chili, and chile morita seco, homemade red wine okonomi sauce – ketchup, Worcestershire sauce, oyster sauce, honey, and a California red wine blend (Old vine from Bogle Vineyards – but really any well rounded wine that isn’t too strong on any notes would work), Japanese mayo, nori furikake, bonito, dashi caramel red onions, lime marinated cilantro

Crunchy fries would meet the first layer of okonomiyaki as the salty starch is met by cheesy savory egg omelet flavor reminiscent of a hearty breakfast, only to be broken up by fresh crunchy cabbage and green onions.

From there, the following layer of rich and creamy guacamole would take over to be rounded out by yet another okonomiyaki layer. After that comes the surf’n turf layer adding heat from the beef with savory tart shrimp coupled with the final okonomiyaki layer.

Last are the toppings of black beans and red onions with the more traditional okonomiyaki toppings of nori furikake, Japanese mayo, bonito, and California Red Wine okonomi Sauce creating a burst of flavors new and old. Savory sweetness from the red onions with a hint of pepper, salty seaweed from the nori, a full bodied tart from the okonomi sauce, sweet creaminess from the Japanese mayo, dried umami from the bonito, and a starchy, robust umami flavor packing some heat from the black beans.

The future of Okonomiyaki

Okonomiyaki literally is a combination for the Japanese words for “what you like/how do you like it” and “cooked” making it the most fitting mishmash of cultural food fusion. I think it’s high time the appeal of okonomiyaki hits more widespread popularity by having more dishes utilize it as such a versatile food medium.

Although difficult to put together, this project was a fun over the top showcase of okonomiyaki’s potential. It was able to successfully absorb the aggressive flavors of the Mexican-American California style, while remaining resilient enough to form a large, interesting structure.

Ultimately, some may think of this feat as a blasphemous attempt at a time honed cultural tradition, but if I learned anything from this experience, it’s that this is a gold mine of food inspiration and there is no way this is the last time I am making a new okonomiyaki concept.

Friendsgiving

Food is one of the best ways to bring people together and it’s an innate human tradition I definitely agree with. So when the opportunity arose to put together a friendsgiving for my long standing group of first year college dorm friends, I took to some prior inspiration to revisit a feat I had undertaken once in the past. This time, bigger and better than ever. I’m talking about a giant sushi roll also known as the sushiritto.

Anyone else wonder what differentiates a giant sushi roll from a sushiritto?

Setting the Stage

Like with the quesarito before it, bigger was a major goal, but it also had to evolve into much more given all my cooking experiences throughout the years. Grander in both scale and flavor profile. The visual impact of a roll about the width of my head (I really couldn’t come up with a better comparison) sounded like a good start given that I wanted to still be able to roll the thing. As for deciding on the ingredients, I pulled out all the stops and went with my most tried and true method: pacing down the aisles of my favorite groceries a few hours before the actual event (yes, groceries plural as I seem to be incapable of composing a single dish without visiting at least three groceries). So as I paced down the aisles accumulating a laundry list of concepts and ingredients new and old, everything started to come together.

So what’s actually in it…

I settled on yellowtail as the centerpiece to build around. This would help combat the battle and confusion between proteins I find so common in most American sushi rolls. For sauce, I love the play of miso and wasabi with yellowtail and it wouldn’t be a sushiritto without some signature Japanese Kewpie mayo. Now that’s a lot to choose from, so I figured there was no reason I couldn’t just mix them all together with some honey.

The rest of the accompaniments were a blend of new and old. From sushirittos I made years ago, I chose tempura green onions, seaweed salad, masago, buttered kanikama, nori furikake, avocado, and ginger. It’s like they say, “if it ain’t broke don’t fix it.” Though sometimes I’ll admit I just want to save myself from re-pacing through all those aisles of the grocery store.

And because I am also almost incapable of not trying something new, bonito, my ever growing fondness of dashi and yuzu, some Russian caviar I had to finish up, a sprig of freshness from Japanese mitsuba, tart red shiso, and the clean, defined spice of Thai chili join the mix to round out the sushiritto’s flavors. With all the actors at hand, it was time for the composition.

Putting it all together

With the all the ingredients on hand and the dinner three hours away, preparations finally began. A relatively easier feat given the lack of cooked ingredients. At least it would have been if I had full use of both my hands (I sliced my finger preparing some chips for an ongoing project). Fortunately, this was a friendsgiving so I had the power of friendship on my side. Or in less euphemistic terms, I could offload all the grunt work while I focused on composing all the flavors I needed. Friends are the best.

The hardest part up to here was definitely laying all that rice down -_-

I went with a 4×4 seaweed base as that seemed like the right size to give it the girth of my head. I also just like the term 4×4. From there the foundation would be the sushi rice followed by the crab mixture and nori furikake to ensure a certain level of decadence and consistent flavor with each bite. Afterwards, the placement of the main protein, yellowtail, as all ingredients would be paired with it. The yellowtail would then be dressed with a homemade yuzu ponzu, dashi, torched on one side to give textural and temperatural contrast, and topped with some Russian caviar I had on hand. Next came a rotation of decisions based on color and flavor going from the tempura green onions, masago, avocado, sauces, and bonito. Finally the remaining garnishes of mitsuba, ginger, Thai Chili, and red shiso.

Now just one quick roll and it was time to dig in! That was the plan anyway, but it was as challenging as you’d supposed. Luckily the quesarito had at least warmed my friends and I for this challenge, though a couple mid procedure patch jobs were necessary.

And the result…

I’m sure by this point you’re filled with questions like “how did you eat it?” and “isn’t that a lot of rice?” but when there is a will there is a way and sweating those details isn’t my style. There’s a method to my madness, which means I had planned ahead to solve any of those problems by A) brute forcing my way to make portions using foil and a sharp knife and B) making sure the resulting giant roll slice would have every bite be as enticing as possible to create a worthwhile marathon of entertaining flavors.

But let’s focus less on the semantics and more on the flavor composition. As great as yellowtail is, I wanted to keep cost down so there was only about 2 pounds in it (the whole thing was probably around 20 pounds). This meant all the other ingredients had to be standout enough to rise up to the challenge of providing robust flavors in its absence. As I alluded to earlier, the base was the garlic shouyu butter kanikama with the sushi rice, seaweed, and nori furikake. This, in it of itself, gave a hefty flavor profile but would get boring after a few bites. So in comes the tempura green onions to give texture and a sharp green onion flavor alongside a dash of salty sweetness for the masago. The torched yellowtail was then reinforced with a pair of sauces that resulted in notes of wasabi, mayo, miso, honey, and unagi sauce, and then finally coupled with caviar and bonito to bring an intense wave of umami despite its smaller ratio. All of this coupled together to form interleaving waves of flavor between the base layer and the more aggressive flavors from the yellowtail and its accompaniments.

All that would be good, but not enough to be great. This is where the supporting role of the remaining ingredients comes in. Their role was to provide yet another layer of security in preventing a bored palate by presenting the most complementary bold fresh flavors I could think of. They ranged from a fresh greens flavor from the mitsuba, sharp spice from the Thai Chili, herbal citrus from the red shiso, and the tang of sweet pickled root from the ginger. I placed one to two lines of these ingredients so they would come in as surprises randomly between bites to confuse the palate and keep everything fresh. A necessary break in between the rush of waves between the base layer, the yellowtail, and its supporting actors.

All is well

A more impromptu event finalized a mere few days out, but overall a successful display of food and friendship benefiting of the title of friendsgiving. The sushiritto delivered on being a unique experience aptly compared to that of an amazing poke bowl as a giant sushi roll. Only thing left was a night filled with many drinks in celebration. Or in other words the other innate human tradition bringing people together.

The Mexican Feastival

Two concept tests and a couple hours of prep — after feeling like preparations would go on forever, I finally completed some of my best work yet. Improving upon design, complexity, and quality, this feast showcased my serious commitment to the genre as it marked my official start in hosting these events on a more regular basis.

If these pictures look noticeably better than some others on the site, it’s because it is. With help from a friend, I was able to up the quality of photos and videos while being left able to focus on the presentation

But what’s in it?

Now this wouldn’t be a feastival if I didn’t put the utmost attention into the food that goes in and this does not disappoint. Boasting the most expansive ingredient list of any of my creations, I’ll have to break this into parts just to make it anywhere near comprehensible.

Every ingredient was chosen to work with other ingredients as much as possible, but for ease of breakdown I am going to describe this in layers.

Straightforward, right?

The Center

At the center we have mole, sesame seeds, Queso Cotija Don Francisco, sliced baby tomato rolled in Chile Morita Seco, and cilantro. Simple. Well it would be if it weren’t for the fact this homemade mole is comprised of:

  • Dried Chile De Arbol
  • Toasted Chile De Arbol
  • California Dried Chile
  • Black Dried Chile
  • Dried Ancho Chile
  • Chile Morita Seco
  • Brown Sugar
  • Dark Amber Maple Syrup
  • Sesame oil
  • Vegetable oil
  • Sesame seeds
  • Black pepper
  • Salt
  • Raw walnuts
  • Roasted peanuts
  • Roasted pumpkin seed
  • Garlic powder
  • Water
  • Roasted chile pasilla
  • Crema Oaxacena
  • Aleppo pepper
  • Lime
  • Coriander
  • Cumin

Looking at the list, I second guess that I even came up with this. Anyway, the mole is similar to my previous test with a couple modifications (notably sesame seeds and sesame oil for an added layer of umami, and brown sugar to round out the sweetness of the dark amber syrup). A few changes were also made to the ratios from my learnings from the first time, but the goal was still similar. The mole had a mild smoke from the dried chiles complimented by the bitterness of the cacao and a dull sweetness from the sugars. Crema added some much needed creaminess with starch from the corn tortillas. Nuts and oils were present to provide a sense of umami, while the remaining ingredients were used to fill in all the gaps between the main tasting notes. All of this packaged together gave off a full range of flavor palate, finishing off with a dull burn that hurts just enough for you to ask for more.

This layer acted as a compliment to the others — meant to be added on as needed for extra intensity to any desired flavor. Salty cheese in the cotija, deep full-flavored spice from the mole, smoky sweetness in the spiced baby tomatoes, and herbal notes in the cilantro. Its also the only layer that didn’t have components that you would normally eat by itself.

The Middle Layer

Moving on, we have the middle layer composed of a mix of a standalone dish in the ceviche tostadas, and several other complimentary components.

At the bottom we have a yuzu, dashi, dark amber syrup, garlic, black pepper, chile morita seco, and aleppo pepper infused black bean puree bringing a well-rounded, starchy umami. On top we have lime salted avocados, chile morita seco infused crema oxaquena, and roasted red bell peppers. The avocados and crema add extra creaminess throughout any bites, while the roasted bell pepper and chile adds smoky sweetness.

Finally we have the ceviche:

  • Ground shrimp
  • Shredded Octopus
  • Agave syrup
  • Grapefruit
  • Danjou Pears
  • Cilantro
  • Garlic Salt
  • Cayenne Pepper
  • Black pepper
  • Lime
  • Yuzu

This take on ceviche was crafted to be sweeter than most (due to the heavy focus on sweet ingredients like the fruits and agave nectar), while keeping it balanced with the more traditional accompaniments such as lime, salt, onions, cilantro, and even some light heat from the cayenne and black pepper. Its citric sweetness played nicely to act as a refresher in between meaty bites from the outer layer and the intenser spices from other aspects of the feast.

The Outer Layer

Finally, we have the heavy hitter. The hearty, meaty layer meant to be complemented from everything within.

  • Tortillas – hatch chile flour tortillas and corn tortillas
  • Slow cooked beef tongue marinated in honey, aleppo pepper, red pepper, lime, apple cider vinegar, black pepper, garlic, and garlic salt
  • White mushrooms sauteed with honey, thyme, salt, and a mushroom spice blend
  • Sauteed red onions
  • Oaxacan cheese
  • Queso Fresco Pancho
  • Green Onion
  • Fried Sous Vide Pork Belly
  • Manzano Peppers stuffed with Oaxacan Cheese
  • Limes
  • Brown sugar dashi carmelized green onion bulbs with black pepper
  • Roasted Chile Pasilla

Tender beef tongue meeting contemporary accompaniments, this layer was the only section featuring meat and is essentially constituted of tacos. Onions and mushrooms are used to directly complement the beef tongue as the cheese add some salty richness to be cut by the green onions and roasted chile pasilla. Lime is added to taste, while pork belly and oaxacan cheese stuffed manzano peppers are available to take the experience to the extreme.

How did it all work together?

As I found out in my first tests, a lot of the ingredients are surprisingly versatile despite their intense flavors. I took advantage of this by placing smaller complimenting ingredients and dishes to accompany the full fledged dishes. Avocados, crema, black beans, and roasted red bell peppers brought some heft to the tostadas, but they could also be used to bright up the beef tongue tacos. If anyone’s palate got bored for any reason, the components in the center would kick things up a few notches.

A better analogy to describe the experience is that the whole feast was as full in flavor as it was full of color. Everything was packed with flavor, but each component had its particular focus. This meant that anything could be paired and eaten without worrying about competing forces. There is fun in being able free to eat the way you want and I wanted to enable that sense of freedom as much as possible. The last thing I want to do in a feast is lay down a thousand rules on how to eat anything.

Plating the Feast

Now plating a table full of food is always an exercise in adaptability. I can’t tell you how many adjustments I had to make during the actual placement of the food, but I can give you a concrete example of how plans don’t always work out:

My astonishingly well drawn vision of what would unfold /s

Design is always a challenge with these feastivals as its not easy to grasp the proportions when laying out 10+ pounds of food across a myriad of dishes. I will admit I had my worries with the design in the beginning, but it turned out to be the best looking feast I have ever done.

Here’s how it went down:

You don’t know how many times I began putting something down only to wonder if I had enough to make it all the way around

Final Thoughts

Overall the flavors delivered a complete experience with the ability to mix and match anything your heart desires. As with any time I utilize Mexican food, I am always blown away with the adaptability of the flavors and ingredients that comprise the majority of Mexican cuisine; a truly optimal match for the feast format.

Stay tuned for more food feastivals as I hope to tackle some Japanese inspired feast concepts in the near future.

Coursed Meals

I began cooking when I was 10, but it wouldn’t be till much later in my second year of college that I took the step from making a dish here and there (although at times a giant dish for over ten people) to a full multi-course meal. After seeing people enjoy my food, I had wanted to achieve something more. Multi coursed meals seemed like the obvious progression. So one fateful night after cooking a large amount of food for a large amount of people, I proposed the concept to those who had stayed after most had left. I eventually cooked over 10 meals for this group of friends (these dinners aptly named “staff dinners”) and this style, consisting of several small highly detailed dishes, became the playground and medium for my creativity in presenting food in overarching themes. It’s here that I hope to share all the details of those experiences.

Back to “Baesics”

Back when I cooked my first coursed meal everything was just a mess of random interesting concepts. That first meal was whatever I could come up with, which always ended up being an arbitrary assortment of “Asian fusion.” Although enjoyable, I felt that after nine preparations of coursed dinners later I should be able to achieve something much greater. Thus came the goal to create a more coherent meal that transcended my brash beginnings. Design, flavor profiles, quality. Everything must be better, yet adhere to the whimsical creativity that my group of friends and I enjoyed. Coined after feelings of endearment from more humble beginnings, the theme was set, it was time to go “back to baesics.”

First Course: Seafood Shot

I originally opened with a seafood shot. It was reminiscent of what you would find in any standard fare Japanese American restaurant, but that’s exactly what I didn’t want this time around. I wanted more precision and more thought. The bottom is sea urchin with a touch of soy, followed by shiso leaf marinated in yuzu, and finished with salmon roe marinated in a dark amber maple syrup. Order matters and so does the experience as each flavor hits your palate. A rush of dull sweetness with a hint of the sea, quickly cleaned up by an herbal minty citrus, and then ending with the ever popular and ever classic sea urchin with just enough salt from sushi grade soy.

Second course: Salad

A salad was the next item to revisit. The first dinner was a straightforward take on caprese salad on a skewer with the main innovation being a balsamic hoisin as opposed to a standard balsamic. Simple and effective, but not what I was aiming for on this day. Starting from the bottom is microgreens, topped with ricotta seasoned with black pepper and cayenne, followed by a mound of raw almonds with a hint of salt, and finished with dashi marinated pears and a garnish of parsley. Again, order matters. Early sensations of earthy leaves are greeted by a rush of creaminess that are touched with moments of spice. Before the textures get boring the crunch of almonds livens everything up as it ends with a mouthful of sweet and umami only to be broken up by garnishes of parsley.

Third Course: Creamed Cheese Corn

My favorite dish from that first coursed dinner was one I called “wonton curry creamed corn” served with takoyaki condiments. Super fun and would work wonders in any street fare. I wanted something that kept that level of fun, while applying some level of gourmet feeling utilizing my newfound experiences. This dish is comprised of a very rich, cheesy creamed corn seasoned with garlic, black pepper, and a hint of sugar, sprinkled with parmesan, and topped with a dollop of gochujang, green onion, parsley, and tempura fried green onion stuffed with the same cheesy creamed corn as seen on the bottom (some fun cornception going on here). Imagine the richest cream corn you have ever had, thicken it with cheese, add in notes of salt from parmesan, cut that richness with some green onion and parsley, and spread some spice throughout as you take in some gochujang. Now with all that going on, throw in some more of everything with a little texture as you take a bite of that tempura fried green onion that is stuffed with the same cheesy creamed corn.

Fourth Course: Slider

Next up was the slider concept. I could come up with a slider a million different ways, but I wanted this one to be out there. To “push the bounds” as some might say. Definitely an amalgamation of “this sounds cool” and “this should work” as I wracked my brain with concepts and ingredients that could be “unique” and “gourmet.” I settled on eel as it is a meaty tasting fish that was the closest thing to a hardy grill flavor that most people would love on a normal slider. Then I combo’d that with bao bread, as it is relatively under represented in the slider realm (I know bao buns are a thing, but this is a slider and most definitely not a bun). The outside is butter charred bao bread filled with heavily dried eel and a lettuce/greens replacement consisting of shiso leaf. On the side is a sauce of gochujang and parsley. Think of soft bao bread with a buttery crunch followed by smokey eel, freshened up with hints of shiso and parlsey, add in a tang of spice, and you’ve nailed what its like to eat this dish.

Fifth Course: A dessert

I’ll admit this has no resemblance to the abomination (in a good way I swear) I made the first meal. I don’t know if you could draw a single similarity between this and the monster tempura fried ball of ice cream that was wrapped in brownie. This is light, simple, and yet deceptively complex as it consists of a butter wafer drizzled in truffle honey, a couple drops of yuzu, a dash of cayenne and salt, and a garnish of mint. Rich wafer meets notes of sweet umami broken up by granules of salt and touches of cayenne, while being kept fresh by mint.